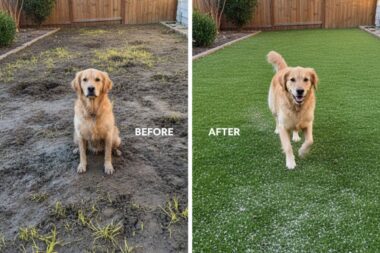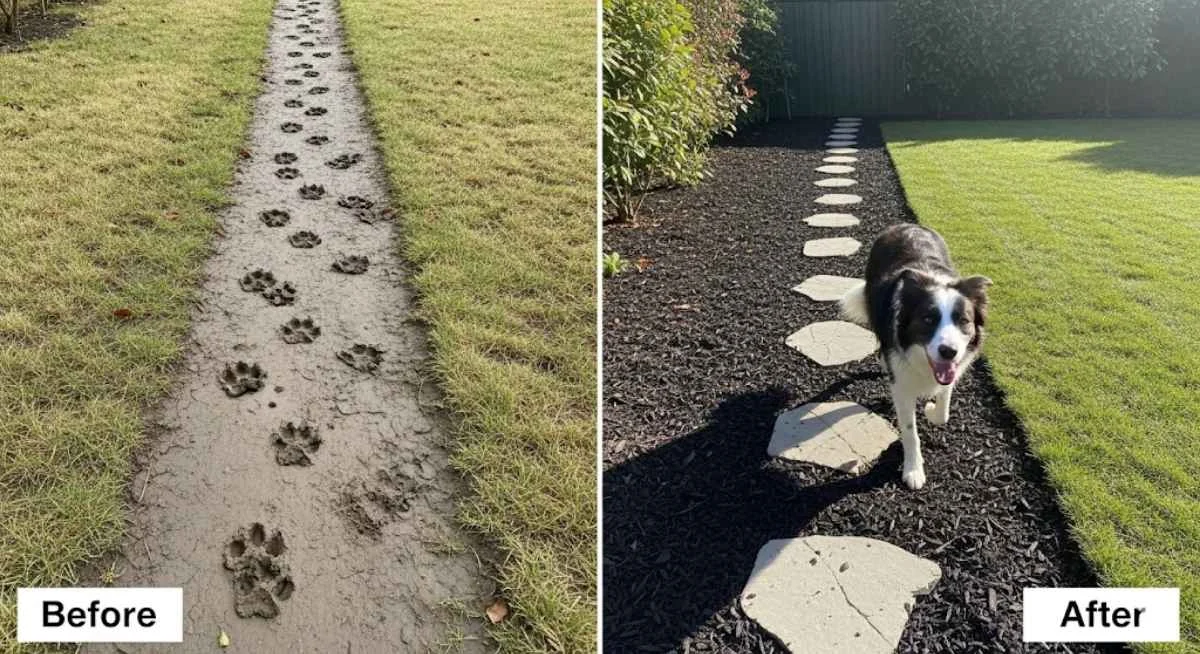
It starts as a faint line in the grass. Then, after a few rainy days and a classic case of the zoomies, it’s official: your dog has created a muddy superhighway across your lawn. It’s unsightly, messy, and a guaranteed way to track dirt all through your clean house.
You know you need to fix it. However, the thought of professional hardscaping and its huge price tag can be discouraging. The good news is, you absolutely do not need a massive budget or a team of contractors to solve this problem for good. In fact, this guide is packed with DIY dog-friendly garden path ideas on a budget. We’ll explore four affordable materials and provide simple, step-by-step instructions to help you transform that muddy track into a beautiful and functional pathway that both you and your dog will love to use.
Planning Your Path: 3 Simple Steps Before You Dig
A successful DIY project always starts with a smart plan. Taking just a few minutes to think through these three steps will save you time and effort. Ultimately, it will ensure your new path is perfect for your yard and your dog.
1. Observe and Embrace the ‘Desire Line.’
First, before you plan a route, you need to understand the “desire line.” Landscape architects use this term to describe the path of least resistance that people (or in this case, dogs) naturally create. In fact, your dog has already done most of the design work for you by creating a visible track along their preferred route.
The most successful and lowest-maintenance path you can build is one that follows this existing line. If you try to build a beautiful, winding path ten feet to the left, your dog will likely ignore your hard work. Instead, they will simply create a new muddy track right next to it.
Therefore, your first real step is simple observation. Spend a day watching your dog’s patterns from the window. Once you’ve confirmed their route, you can confidently plan to build your new path directly on top of their established “superhighway.”
2. Choose the Right Width and Shape
The width of your path is important for both function and aesthetics. It should be wide enough for your dog to comfortably trot along without having to walk single-file. Additionally, think about your own needs. Will you need to run a wheelbarrow or a lawnmower along this path? A good rule of thumb is a width of 2 to 3 feet (about 60-90 cm). This provides ample space for most uses. As for shape, while a straight path is easiest to build, a gently curving path can add more visual interest and a softer, more natural look to your garden.
3. Select Your Budget-Friendly Material
The material you choose will define the look, feel, and cost of your project. The four options we will cover in detail below are the best choices for balancing a low budget with a durable, dog-friendly design. Consider the look of your home and garden, as well as your dog’s preferences. For example, some dogs love the texture of pea gravel, while others with sensitive paws might prefer the softness of mulch. We will dive deep into each option to help you choose the perfect fit.
Our Top 4 Affordable DIY Dog-Friendly Path Ideas
In this section, we break down our top four choices for creating a beautiful, durable, and affordable path. We’ve included a simple step-by-step guide for each option so you can get started this weekend.
1. The Mulch Path (Easiest & Most Natural)
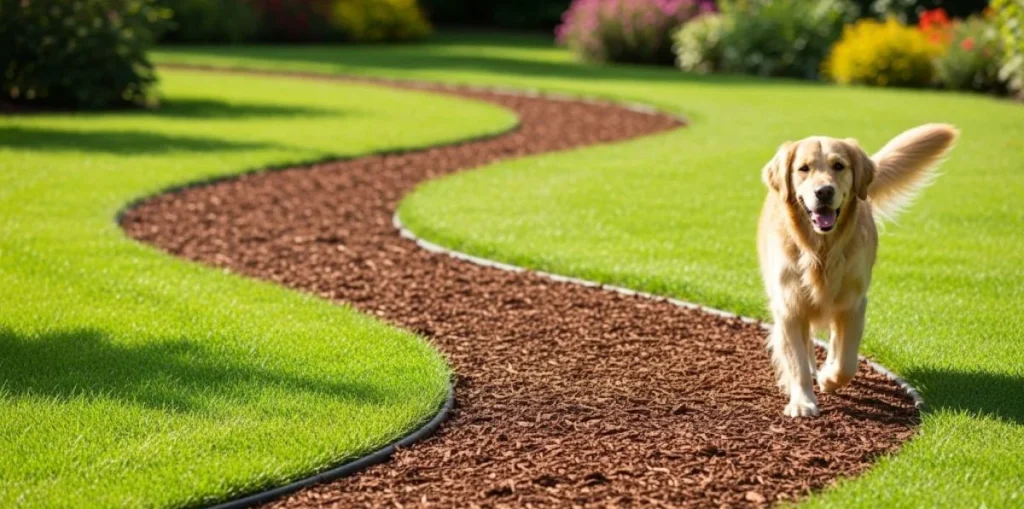
Why It’s Great for Dogs & Budgets: Mulch is the go-to choice for a fast, incredibly affordable, and natural-looking path. It’s soft and springy under your dog’s paws, making it a very comfortable surface to walk and run on. Furthermore, a thick layer of mulch helps to suppress weeds, retain soil moisture for adjacent plants, and it blends seamlessly into almost any garden environment.
Best Mulch Types: For a dog path, you want a mulch that is durable and safe.
- Cedar or Pine Bark Nuggets: These are excellent choices. The larger nuggets are less likely to get stuck in paws or tracked indoors compared to shredded mulch. Cedar also has the added benefit of being a natural insect repellent.
- Critical Safety Warning: Never use Cocoa Mulch. It is made from cocoa bean shells and is toxic to dogs if ingested. Stick to natural, untreated wood mulches.
Simple DIY Steps:
- Mark the Path: First, lay out the shape of your path using a garden hose or a can of spray paint.
- Dig Out the Sod: Next, use a flat spade or sod cutter to remove the existing grass and about 3-4 inches of soil. This creates a shallow trench for your path.
- Lay Landscape Fabric: After clearing the trench, lay down a high-quality landscape fabric. This is a crucial step to prevent weeds from growing up through your mulch. For a detailed guide on this process, a resource like The Spruce’s tutorial on laying landscape fabric is very helpful.
- Install Edging: Then, install a simple border along the edges of your path to contain the mulch and keep your lawn from creeping in. Affordable options include flexible plastic edging, simple metal strips, or a border of stones.
- Spread the Mulch: Finally, fill the path with a 3-4 inch layer of your chosen mulch. Rake it smooth, and you’re done!
Pros & Cons:
- Pros: Very inexpensive, easiest and fastest option for beginners, soft on paws, natural look.
- Cons: Needs to be topped up with a fresh layer every 1-2 years as it decomposes. Lighter pieces can be tracked indoors.
2. The Pea Gravel Path (Durable & Great for Drainage)
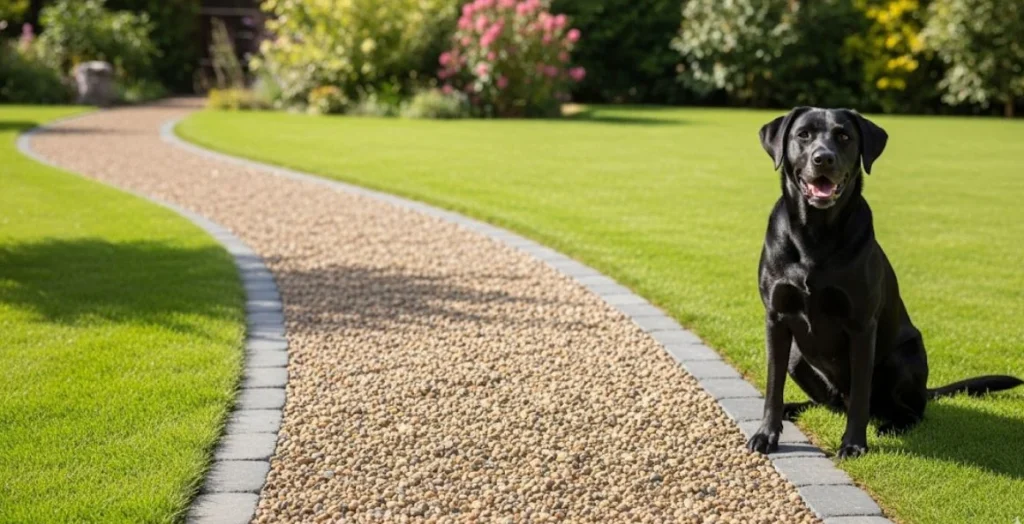
Why It’s Great for Dogs & Budgets: Pea gravel offers a more permanent and durable solution that’s still very budget-friendly. These small, smooth, rounded stones provide excellent drainage, which means no more muddy puddles after a rainstorm. Additionally, solid waste is very easy to spot and scoop from the surface, and the entire path can be easily rinsed clean with a hose.
Simple DIY Steps: The installation process is very similar to a mulch path. However, a sturdy, high-quality border is even more important for gravel to prevent the small stones from migrating into your lawn. Follow the same five steps: Mark the path, dig out the sod, lay landscape fabric, install a secure border, and fill with a 3-inch layer of pea gravel.
Pros & Cons:
- Pros: Excellent drainage, very durable and long-lasting, low maintenance, and relatively affordable.
- Cons: Some dogs with very sensitive paws may dislike the texture, small stones can get stuck in paws or shoe treads, can get hot in direct, intense sun.
3. The Stepping Stone Path (Creative & Charming)
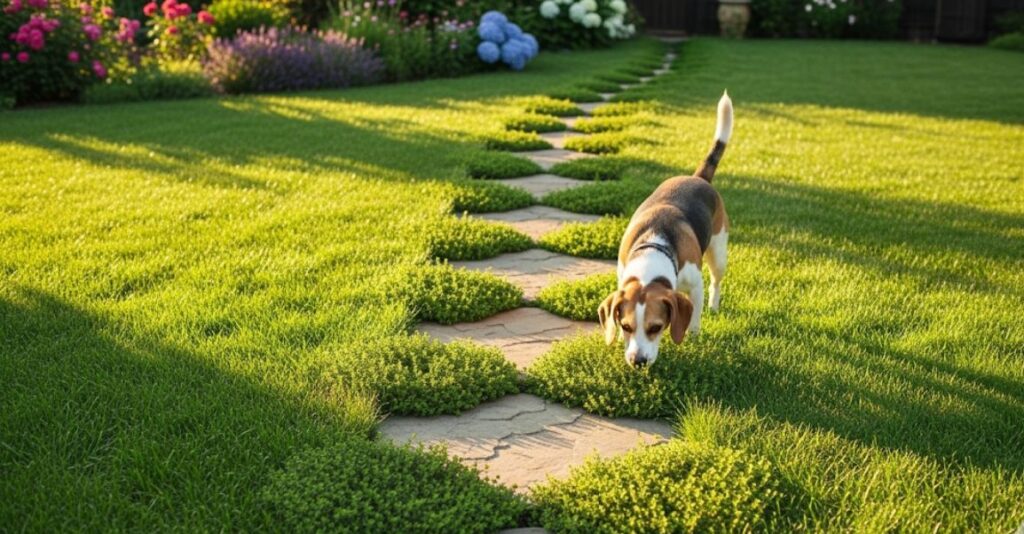
Why It’s Great for Dogs & Budgets: Stepping stone paths allow you to create a solid walking surface while still incorporating the green, natural look of your lawn or a ground cover. Sourcing individual stones can be very affordable, and the creative possibilities are endless. This option provides a solid, mud-free spot for paws to land.
How to Do It on a Budget: Instead of buying uniform pavers, visit a local landscape supply yard. They often have piles of irregular flagstones or stone remnants that are sold by weight at a much lower cost. You can create a beautiful, rustic path by fitting these unique shapes together like a puzzle.
Simple DIY Steps:
- Lay Out Your Stones: First, arrange your chosen stones on top of the grass along your desired path, adjusting them until you like the spacing and flow.
- Trace and Dig: For each stone, use a trowel to trace its outline into the grass. Move the stone aside and dig out the sod and soil to a depth that allows the stone to sit perfectly flush with the ground.
- Create a Base: Add a 1-inch layer of sand to the bottom of each hole. This creates a stable base and makes it easy to level the stone.
- Set the Stone: Place the stone back in the hole on top of the sand, wiggling it until it’s level and doesn’t rock. Fill in any gaps around the edges with soil.
Pros & Cons:
- Pros: Highly customizable and visually interesting, very permanent and durable, provides solid footing.
- Cons: Can be uneven if not installed carefully, more labor-intensive than a simple mulch or gravel path.
4. The Decomposed Granite Path (Firm & Stable)

Why It’s Great for Dogs & Budgets: Decomposed granite, often called DG, is a fine, gravel-like material made of crushed rock. When it is compacted and watered, it binds together to create a firm, stable, and permeable surface. In other words, it’s a fantastic middle-ground between a soft mulch path and a hard paved surface, and it’s very affordable.
Simple DIY Steps: The installation is similar to a gravel path but with a crucial final step. Follow the first four steps: Mark the path, dig out a 4-inch trench, install a border, and lay landscape fabric. Then, fill the path with a 3-4 inch layer of decomposed granite. Rake it smooth, then spray it thoroughly with a garden hose. Finally, use a hand tamper (which can be rented affordably) to compact the wet DG down into a hard, stable surface. Let it dry completely.
Pros & Cons:
- Pros: Creates a very stable, almost pavement-like surface, has a natural aesthetic, excellent for drainage.
- Cons: Can be dusty when first installed, fine particles can be tracked indoors on paws before it fully settles and hardens.
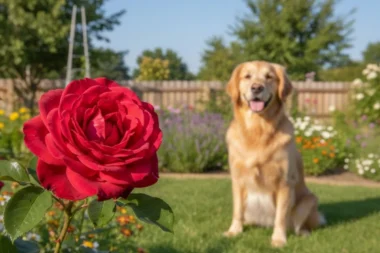
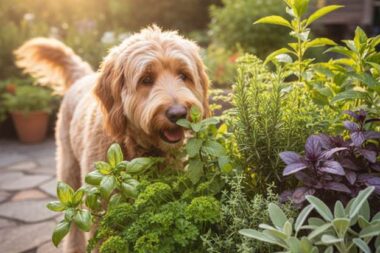
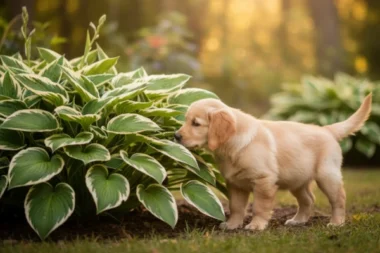
A Critical Detail: Choosing Path-Side Plants
A beautiful path is made even better when it’s softened with plants along its borders. However, it’s absolutely crucial that any plants your dog might brush against, walk over, or be tempted to nibble are safe. Placing beautiful but toxic plants right at paw-level is a serious hazard.
- For a complete list of worry-free options to plant along your new path, see our guide to 15 beautiful flowers that are completely safe for dogs.
- Conversely, you must avoid dangerous plants. Always double-check your existing and new plant choices against our ultimate list of toxic plants for dogs.
Your New Path to a Better Backyard
Building a beautiful, functional path is a huge step in solving the ‘muddy superhighway’ and reclaiming your lawn. This project is also a key component of a larger strategy for creating a yard that works for your dog, not against them. A well-defined path is the first step in creating different zones for different activities within your yard.
Your new path is the foundation of a well-zoned yard. To learn how to integrate it with dedicated play areas, potty zones, and protected gardens, read our complete pillar post on how to design a garden layout that your dog won’t destroy.
Conclusion
As you can see, you don’t need a huge budget or a team of professional landscapers to fix your muddy dog path. A beautiful, durable, and affordable solution is an easy weekend DIY project away, waiting to be built. By choosing the right material for your needs and following these simple steps, you can create a lasting improvement to your garden.
Ultimately, you no longer have to choose between a green lawn and a happy dog. With these DIY dog-friendly garden path ideas, you have the inspiration and the step-by-step instructions to create a beautiful, functional pathway that you, your family, and your pet will enjoy for years to come.